
The cert lists a length. Your tape is on the drop. You run your finger along the 11 3/4 inch mark on the steel drop, then cross reference the typed 12 foot 1 inch entry printed on the cert tucked under the edge of the bench. A 1/8 inch variance is within spec, but the difference here is far larger, and you need to document the mismatch before you make the first cut.
Initial cross-reference notes you log right now
You jot the exact measured length in the blank margin next to the cert’s listed bar length, using a fine tip permanent marker so the note doesn’t smudge if you set a half-cut length on the paper later. You circle both the listed length and your measured number, and draw a thin line between them to make the connection immediately obvious to anyone else who references the document before you return to the job. You add the current date and your bench ID in the corner of the note, no extra context needed for that first entry, because you’ll expand on the details as you run through follow-up checks. You avoid using pencil for these notes, because pencil marks can be erased or smudged by metal shavings, oil, or moisture that accumulates on bench surfaces during a typical shift. You don’t walk the document over to the Traveler Desk yet, because you need to rule out simple user error first before escalating the mismatch.
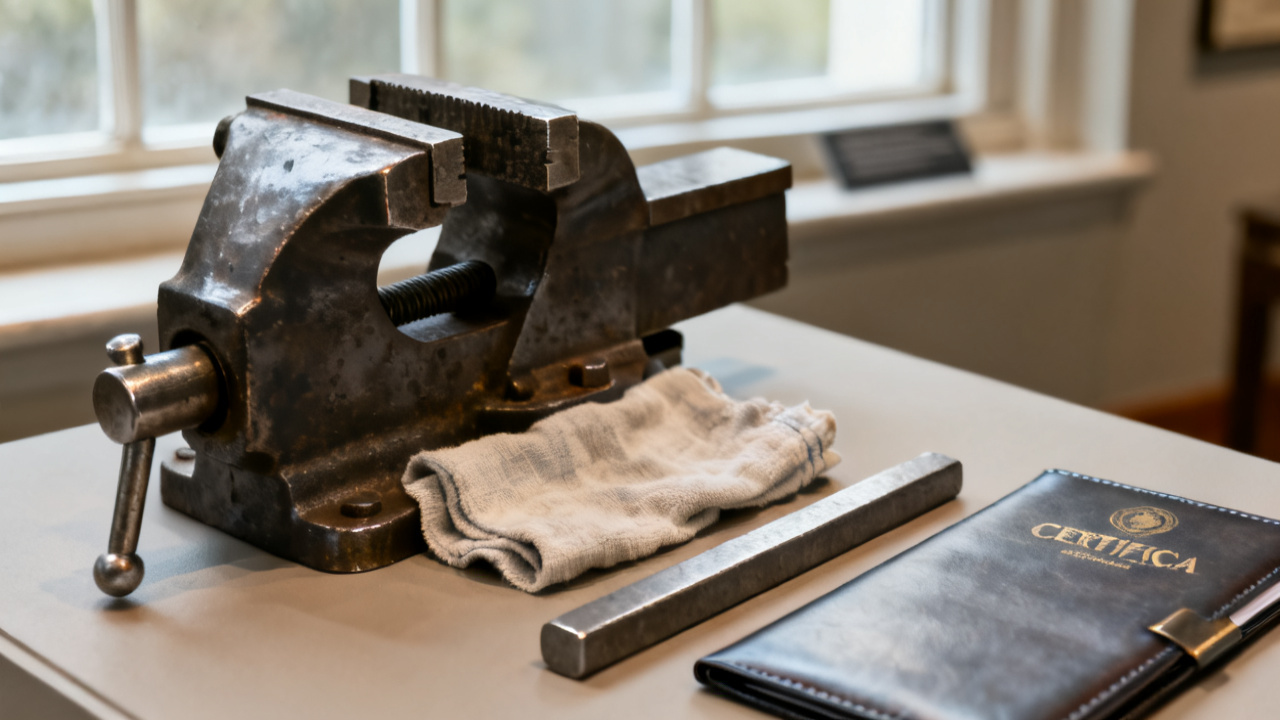
Source paperwork cross-check steps
You work through these steps in order to eliminate easily fixable errors before you flag the mismatch for further review:
- Pull the original purchase order line item for this bar stock, and confirm the length listed on the PO matches the length printed on the cert, to rule out a typo when the cert was generated in receiving.
- Double check the heat number printed on the end of the drop against the heat number listed on the cert, to confirm you are referencing the correct paperwork for the piece of steel in front of you.
- Calibrate your tape against the 6 foot metal calibration bar mounted above your bench, to rule out a stretched or misprinted tape that would give you an inaccurate length reading.
- Measure the drop two more times, once from the mill scale end to the sheared end, and once from the sheared end to the mill scale end, to confirm you didn’t misalign the tape on your first pass.
- Note any mismatches you find during these checks in the same margin you used for your initial length note, so all relevant data lives in the same section of the document.
If you find that the heat number on the drop does not match the heat number on the cert, you set the current cert aside and pull the correct cert for the drop’s heat number from the filing slot by the rack, before you proceed with any additional checks.
Variances you flag for operations review
Not every mismatch between cert length and measured drop requires escalation, but any deviation that falls outside of pre-approved tolerance ranges gets flagged before you proceed with any machining work. The table below outlines which variances you flag, and what details you include with each flag.
| Variance Type | Threshold for Immediate Flag | Required Supporting Detail |
|---|---|---|
| Overall length mismatch | Greater than 1/4 inch total difference between listed cert length and measured drop length | Exact measured length, tape calibration confirmation, heat number match confirmation |
| Partial cut length mismatch | Greater than 1/8 inch difference between marked cut line and the corresponding sub-length listed on the cert | Photo of the marked cut line next to the tape measurement, note of which cut sequence the line falls into |
| End defect length loss | Greater than 3/16 inch of material lost to mill crack, shear burr, or rust on either end of the drop | Photo of the defective end, measured length of the defective section, note of whether the defect was visible at receiving |
| Mismarked heat number length | Any length difference at all if the heat number on the drop does not match the heat number on the cert | Cross-reference of the correct heat number’s cert length, note of where the mismarked stock was located in the rack |
Illustrative example: If you measure a drop listed at 72 inches as 71 5/8 inches, the 3/8 inch difference crosses the overall length mismatch threshold, so you flag it with the three required supporting details before you move forward. You do not discard any of the supporting notes you take for flagged variances, even if you later resolve the mismatch on your own, because the paper trail stays with the job for full traceability through every step of the machining process. You only mark a variance as resolved if you can confirm the root cause was a simple, non-material error like a misprinted cert that receiving already has a correction on file for.
Temporary markers you add to the physical drop
Once you have logged all relevant notes on the document, you mark the measured length directly on the end of the drop with a paint marker, so you don’t have to re-measure every time you reference the piece while waiting for variance resolution. You also write the last 4 digits of the heat number on the same end, right next to the length, so anyone who pulls the drop from the rack can immediately match it to the correct line item on the cert. You tape a small, removable sticker to the drop that says “PENDING LENGTH VERIFICATION” if the variance is flagged for operations review, so no one uses the piece for a different job before the mismatch is resolved. You do not cover any existing mill marks or heat stamps on the drop when you add your temporary markers, because those official markings take priority over any handwritten notes you add during processing. You place the drop in the designated “pending review” section of your rack if you flagged a variance, so it stays separate from stock that is ready for immediate machining.
Next time you pull this work document for cut prep
When you come back to this job and pick up the document again, the first thing you do is check for any notes added by the operations team that address the flagged variance, if you submitted one. If the variance is approved as-is, you sign next to the approval note and adjust your cut layout to account for the shorter measured length, so you don’t end up short on the final parts you need to machine from the drop. If the operations team has attached a corrected cert with an updated length that matches your measurement, you staple the corrected cert to the front of the document and cross out the original incorrect length entry with a single line, so no one references the old number by mistake. If the variance is marked for further review, you do not make any cuts to the drop, and you follow the handwritten instructions added to the margin to either re-measure the piece or pull a different drop from the rack that matches the original cert specifications. You also double check that the temporary markers you added to the drop are still legible, and refresh the paint or sticker if it has been scratched or peeled off while the job was waiting for review. You do not remove any of the original notes you added during your first cross-reference, even if the variance is fully resolved, because the full paper trail remains part of the job record for future reference if any issues come up with the finished parts later in the production process. You only move the drop back to the active machining rack once all variance questions are fully addressed and documented on the work document.