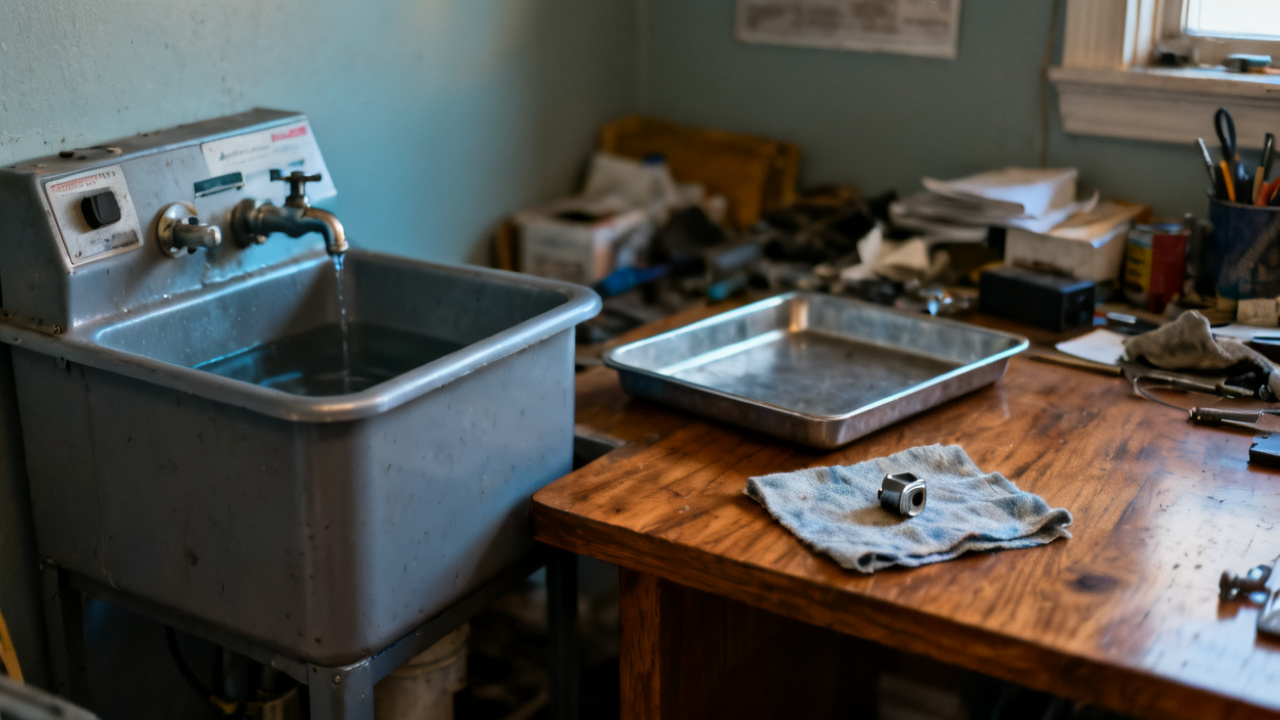
A stamp is on the part. The sheet has a line for that stamp. You run a fingertip over the indented ink mark, half smudged from the quenching tank’s residual moisture that wicked into the stamp pad during the first part’s post-cut processing, and can’t make out any of the alphanumeric characters pressed into the 6061 aluminum face. The lot runs 42 pieces total, all cut from the same 12-foot bar stock you loaded into the CNC lathe at the start of your shift, and this first run part is the only one with the unreadable stamp so far.
First, cross-reference the lot’s original stamp order
You start by pulling up the linked work order in the shop floor terminal to confirm the exact stamp requirements for this lot, no guesswork allowed. The stamp is required to include three distinct sequences to align with part tracking protocols, and you cross-check each one against the partial visible edges of the smudged mark to rule out a mis-stamp with the wrong die set. Illustrative example: The requested stamp for this lot includes the 4-digit part suffix 7829, the heat lot code BX14, and the lead inspector’s initials MQ, with no additional symbols or spacing allowed between sequences. To complete this cross-reference thoroughly, follow these steps:
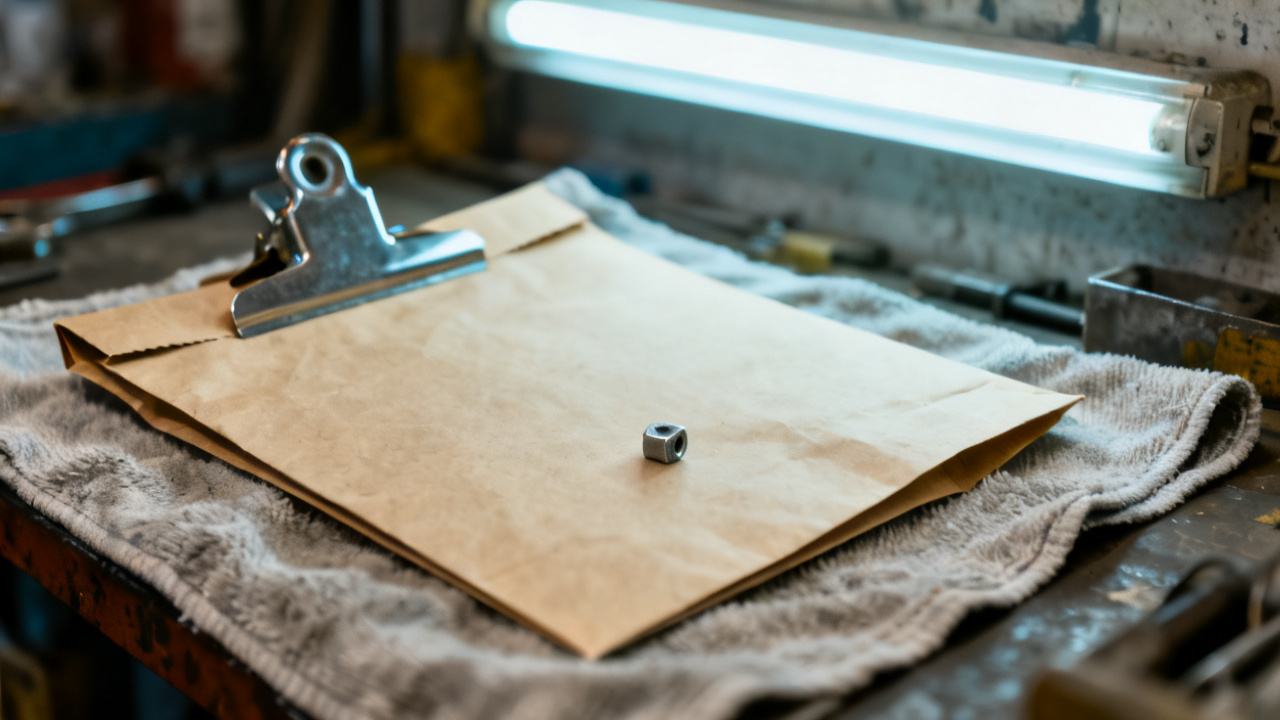
- Pull the original stamp request from the linked work order to confirm every required character sequence, die size, and ink color specified for the lot.
- Compare each visible partial edge of the smudged stamp to the required sequences to rule out a mis-stamp of a different lot’s marking, noting any partial matches in the margin of this sheet as you go.
- Check the stamp die set at the adjacent stamping station to confirm no burrs, chipped edges, or excess ink buildup caused the smudge on the first part.
- Test the die on a 1-inch scrap piece of the same 6061 aluminum stock, using the same pressure and ink application you used for the first part, to verify the impression is clear when excess ink is wiped from the die before stamping.
You confirm the test stamp is fully legible, with no smudging, so you know the issue is isolated to the first use of the die before you wiped away the excess ink that pooled during the station setup earlier that shift.
Mark the smudged area with a fine-point paint pen
Grab the neon yellow fine-point paint pen from your bench tool caddy, the one specified for non-damaging part marking that wipes off easily with isopropyl alcohol before finishing. Circle the entire perimeter of the smudged stamp, taking care not to press hard enough to scratch the part’s machined surface or cover any of the partial visible character edges that might help the inspection team verify the marking. Add a small, thin tick mark next to each partial visible character, so the team doesn’t have to hunt for faint edges when they run their imaging checks later. You don’t add any written notes to the part itself, since ink from the pen could leave residue that interferes with the powder coating step scheduled for after first article approval, so all related notes stay exclusively on this sheet.
Log the discrepancy against the part’s serial number range
The lot’s assigned serial numbers run sequentially from LX40219 to LX40260, matching the 42 pieces in the run, and the first part you just stamped carries serial number LX40219. Jot that serial number clearly in the open notes section directly next to the stamp entry line on this sheet, followed by a short note that the stamp is illegible due to excess ink transfer from the die during the first use, with no signs of misalignment or wrong die use confirmed during your cross-reference check. You only flag this single part, not the entire lot, since your test stamp on scrap came out fully clear, so you know the issue is isolated to the first run of the die before you wiped away excess ink. If any other parts in the lot show similar smudging as you process the rest of the run, you’ll add their serial numbers to this same line, so the inspection team has a full record of all affected parts without having to sort through the entire lot manually.
Attach a 1cm swab of the same stamp ink to the right margin
Tear a 1cm square of the same low-tack masking tape you use to hold small parts in place during stamping, and dab a tiny amount of the exact same black stamp ink used for the lot onto the center of the tape. Press the tape firmly onto the empty right margin of this sheet, directly next to your discrepancy note, so the ink sample is fully visible and doesn’t overlap any other pre-printed or handwritten entries on the page. This gives the inspection team a direct reference for the ink color and consistency when they compare it to the smudge on the part, to confirm the mark came from the correct die set for this lot, not a stray stamp from a different work order left on the station from a previous shift. Smooth the tape down completely along all edges so it doesn’t catch on other sheets in the work order packet, and avoid getting any extra ink on the rest of the sheet to keep all other pre-printed fields and entry lines legible for later users.
Sign and date the line next to the stamp entry field
Use your official shop inspector initials and the full date, including the 4-digit year, so anyone reviewing the sheet later can immediately identify who logged the discrepancy and when the check was completed. You don’t fill out the final stamp approval line yet, as that’s reserved for the independent inspection team once they verify the part meets all requirements or determine if the part needs to be re-stamped or scrapped entirely. Make sure your signature is fully legible, not a quick scribble, so if the team has follow-up questions about your cross-reference checks or the conditions when the stamp was applied, they know exactly who to find on the shop floor during your shift. If the inspection team requests a physical copy of the original stamp spec for their records, you can pick a printed copy up at the Traveler Desk during regular shift hours.
Pull this sheet first when you unbox the returned first article
When the first article comes back from the off-site metallurgy and marking verification team, you’ll grab this sheet before any other documents in the lot packet to cross-reference your notes with their official test results. If the team confirms the partial stamp impressions match the required sequences via high-resolution imaging, you’ll update the note section directly below your original entry to reflect that the stamp is verified, even if it’s not fully legible to the naked eye. If they determine the smudge is too significant to confirm the marking matches the lot requirements, you’ll flag the part for re-stamping, noting the assigned re-work order number directly below your original discrepancy entry so the re-work team has full context for the issue. You’ll keep this sheet in the front of the lot packet for the entire production run, so every operator who processes the remaining 41 parts can see the note about the excess ink on the first die run and wipe the die between each stamp to avoid repeating the issue. Once all parts are processed and the lot is cleared for shipping, this sheet stays in the work order file for 7 years per industry tracking requirements, so you can reference it if any questions about the lot’s marking come up after delivery.