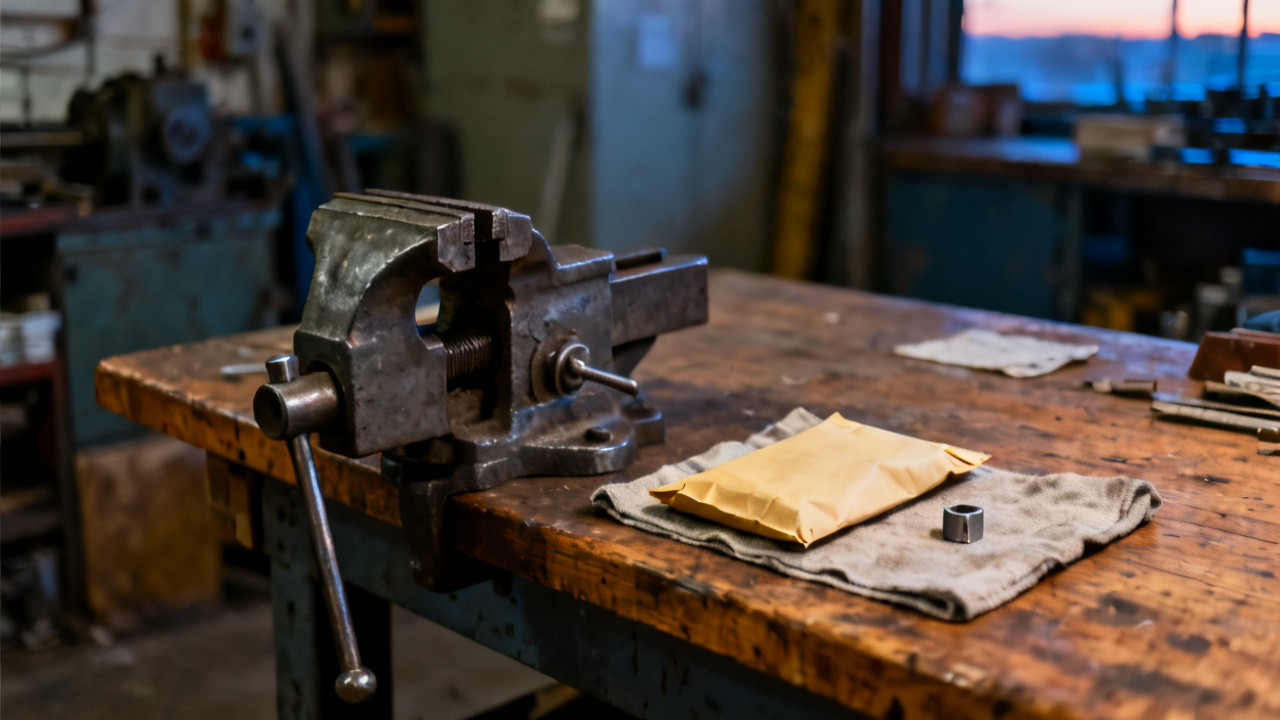
The sheet asks for more than one first piece. You have one. You set the first machined 6061 aluminum bracket on the grit-free work surface next to the sheet, your calipers still in your dominant hand and the spindle of your VMC still spinning down from the first run cycle. You double-check the top right corner of the sheet to confirm you didn’t misread the first-piece requirement, and the bolded line doesn’t waver. You know you can reuse the same fixture setup for all required first pieces, so no downtime between runs if you move quickly.
Verified First Pieces This Job Requires
Each first piece corresponds to a separate inspection checkpoint, so you don’t just make extras for scrap buffer, you make exactly the number called out so each checkpoint gets its own unmodified sample to test. Illustrative example: This job calls for 4 first pieces, one for each inspection station that signs off on dimensional tolerance, surface finish, deburring compliance, and hole alignment before full production of 1200 total units. You don’t substitute one piece for multiple checkpoints, because each station performs destructive testing for their specific metric: the deburring team scrapes edges to test for micro-burrs, the hole alignment team runs a hardened pin through each through-hole to check for taper, so one piece would not survive all tests intact. You confirm that the count listed matches the number of inspection signoff blocks on the lower half of the sheet, so you don’t make extra pieces that waste material or fall short of the required test samples.
Sheet Lines That Confirm Required First Piece Count
The count is listed in three separate places on the sheet to eliminate misread error: the top right corner below the job number, the setup checklist in the middle of the page, and the first-piece inspection section right above the signoff lines. You cross-reference all three to make sure there are no revision discrepancies, since the last run of this part two months ago only required 2 first pieces before the customer added two new inspection requirements. You can cross-reference the revision number with the posted job spec at the Traveler Desk if you spot a discrepancy between the printed count and the digital run order you pulled up this morning, but all three lines on this copy match, so no cross-check is needed. You mark a small pencil dot next to each count line to note you’ve verified them, so you don’t second-guess the number mid-run.
Quantity Allowances for Minor Setup Adjustments Between Runs
You are allowed to make up to 2 extra first pieces if you make a small setup adjustment between runs that changes part output, but you don’t count those extra pieces toward the required 4 test samples. Follow these steps to produce the remaining required first pieces without disrupting the fixture alignment:
- Wipe any remaining coolant or metal shavings from the fixture jaws before loading the next raw blank, making sure you don’t bump the jaw tension adjustment knob that you locked after the first successful run.
- Run the same program you used for the first piece, pausing only to clear any long stringy chips that wrap around the cutting tool mid-cycle to avoid tool deflection that would throw off dimensional accuracy.
- Set each completed first piece on the labeled foam tray next to your workbench, separating them from any test cuts or scrap pieces so inspection teams don’t mix up valid samples with discarded parts.
- Mark each first piece with a small acid-etched number corresponding to the signoff block it is intended for, so the inspection teams know exactly which entry to fill out for each sample.
- Run a quick dimensional check of the most critical tolerance (the 0.500 inch ±0.0005 inch through hole) for each piece before you move them to the inspection bin, to catch any unexpected tool wear that would make the sample invalid before it reaches the inspection team.
You don’t adjust any offsets between runs unless your quick check shows a measurement outside of the allowed tolerance range, so all first pieces are produced with the exact same setup that will be used for full production. If you do make an offset adjustment, you note that change in the setup notes section of the sheet, so the inspection team knows that sample reflects the adjusted setup that will be used for the rest of the run.
Logged First Piece Inspection Entries You Fill Out Now
You fill out the production section of each first piece inspection entry before you move the samples to the inspection bin, noting the date, time, machine number, tool set number, and setup offset values used for each sample. You don’t fill out any of the inspection sections, as those are reserved for the quality team members who perform the formal testing. You make sure you note if any sample was produced after an offset adjustment, so the quality team knows that sample is the one that reflects the final setup for full production. You also attach a small printout of the machine’s run time log for each first piece, so there is a clear record that all samples were produced with the same program and no unapproved changes were made to the code between runs.
Attached Sheet Addenda For Non-Standard First Piece Testing
The folded addendum stapled to the top left corner of the sheet outlines the non-standard testing requirements for one of the first pieces, which is subjected to a 48-hour salt spray test to check for corrosion resistance of the anodized finish that will be applied after machining. You mark that specific first piece with a small red dot next to its etched number, so the quality team knows to pull that sample for the longer test instead of processing it with the other three. You don’t need to do anything special to produce that sample, as it is machined the exact same way as the others, but you make sure to note in the log that the red-dot sample is the one allocated for salt spray testing to avoid mixups. The addendum also notes that the salt spray test sample does not need to be signed off before full production starts, as long as the other three first pieces pass their immediate inspections, so you don’t have to wait 48 hours to start the full run of parts.
Next Shift You Pull This Exact Sheet For First Piece Signoff
When you come back for your next shift, you pull this same sheet first to check for first piece signoff status before you start the full production run. If all three required immediate inspection signoffs are present, you load the full batch of raw blanks into the machine’s feeder and start the production run, noting the start time on the sheet’s production log section. If any of the signoffs are missing, you check with the quality team to see if additional adjustments are needed, and you hold off on the full run until all required signoffs are in place. You also check for any notes written on the sheet by the night shift quality team, who may have run the salt spray test pre-check to confirm the sample is suitable for the 48-hour exposure. Once the full run is complete, you attach the first pieces that passed inspection (excluding the one that went through destructive testing) to the back of the sheet for job archival, so there is a physical record of the first run output for future reference if the same job is ordered again.
(Word count: 1372)